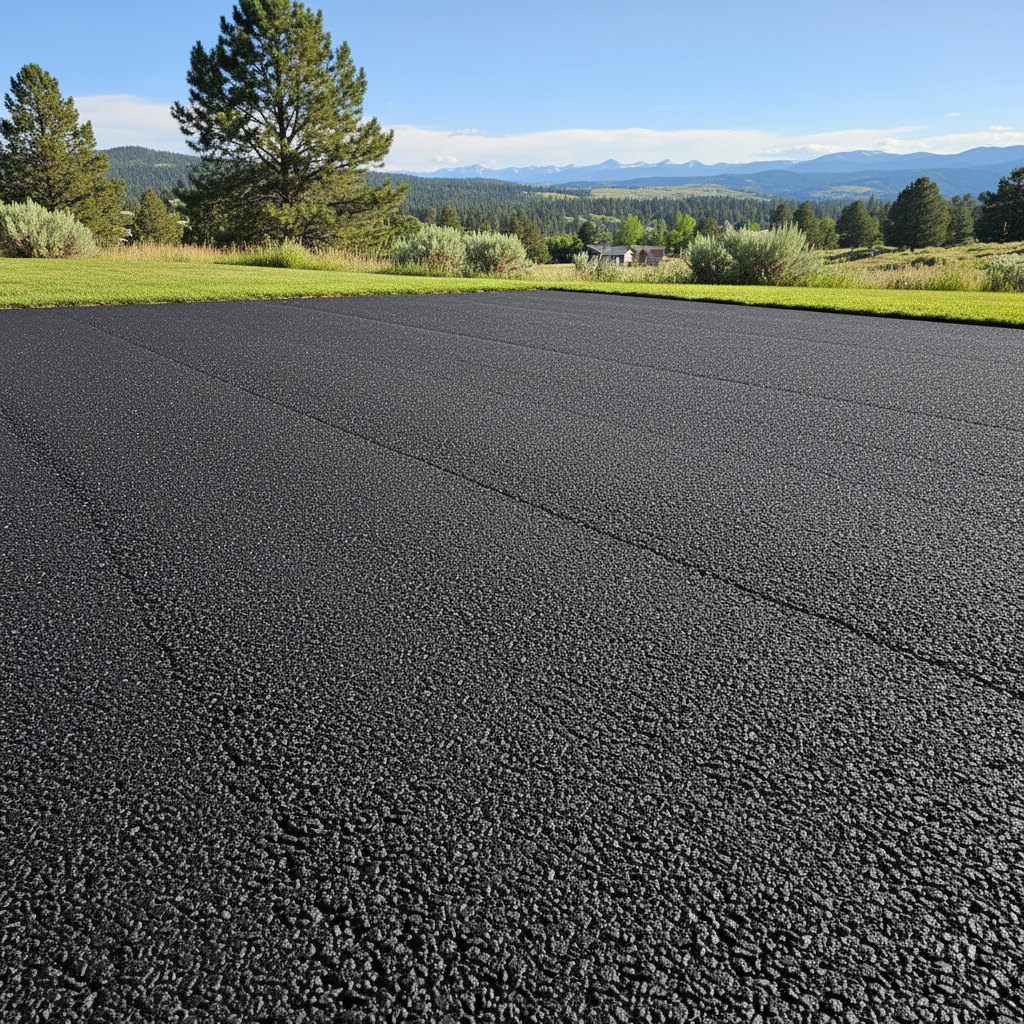
Thinking About a New Parking Area? Here’s What You Need to Know
So, you're thinking about putting in a new parking area, maybe expanding an old one, right here in Missoula. Perhaps your family's growing, or you've finally got that RV you've always wanted, or you just need more room for guests. Whatever the reason, paving a parking lot—even a smaller one for your home—is a bigger job than most people realize. It's not just about dumping some asphalt and calling it done. A lot goes into it, and knowing what you're up against can really save you a ton of headaches and money down the road.
I've seen my share of residential paving projects, the good and the not-so-good, all over town – from the Rattlesnake neighborhood to the Orchard Homes area. Let's chat about what you need to think about before, during, and after the project. We'll also cover when it makes sense to roll up your sleeves and when it's definitely time to call in the pros.
Before You Start: Planning and Permits
First things first: planning. You can't just wake up and decide you want a parking lot, then start digging. You need a clear idea of what you're aiming for. How big should it be? What kind of vehicles will use it? Just passenger cars, or will you have heavier stuff like an RV or a work truck? This detail really changes the kind of base material and asphalt thickness you'll need.
Next, and this is super important for Missoula homeowners, you absolutely have to check with the city or county planning department. Depending on where you live and how big your project is, you might need permits. Believe me, you do not want to get halfway through a job only to discover you're breaking zoning laws or stormwater regulations. They're pretty strict about stormwater runoff here, especially with all our rivers and streams. Ignoring this could mean fines or, even worse, having to tear out your brand new pavement. This isn't really a DIY task; it's a paperwork game, and you've got to play by the rules.
You'll also want to consider drainage. Missoula gets its fair share of snow and rain, doesn't it? If your parking lot isn't graded correctly, you'll end up with standing water, which is a nightmare for asphalt. It can lead to early cracking and deterioration. This is definitely a job for someone who understands site grading and how water flows. You might be able to do some basic layout with stakes and string, but getting those slopes just right for drainage? That's a professional skill.
During the Project: Base Prep and Paving
This is where the real work begins, and honestly, it's where most DIYers run into trouble. The foundation, or sub-base, is everything. Your asphalt will only be as good as what's underneath it. Here in Missoula, we often deal with clay soils that can expand and contract with moisture. If your base isn't properly prepared and compacted, you'll see cracks and potholes popping up way too soon.
What can you realistically do yourself? Well, you can certainly mark out the area, clear away plants, and maybe even do some initial digging if you're comfortable with heavy equipment or have a strong back and a lot of free time. But when it comes to excavating to the right depth, laying down and compacting several layers of aggregate (like gravel and crushed rock), and making sure those drainage slopes are correct—that's where you need professional equipment and expertise. A small rental plate compactor just won't cut it for a proper parking lot base.
And then there's the paving itself. Laying asphalt isn't like pouring concrete. It's a hot, specialized process that needs specific machinery – asphalt pavers, rollers, and trained crews. The asphalt has to be laid at the right temperature, at the correct thickness, and compacted immediately and evenly. If you try to do this yourself, you'll probably end up with an uneven surface, poor compaction, and a parking lot that falls apart in a few years. This is 100% a job for a professional asphalt contractor like us at Top Line Asphalt Missoula. Seriously, don't even think about trying to DIY the actual asphalt application.
After the Paving: Curing and Maintenance
Once the asphalt is down, the job isn't quite finished. You need to let it cure. This usually means staying off it for a few days, sometimes longer, depending on the weather and the specific asphalt mix. Your contractor will give you precise instructions. Resist the urge to drive on it too soon; it really needs time to harden and settle.
Maintenance is crucial for making your new parking lot last. While you won't be doing the initial paving, you can definitely handle some of the upkeep. Keep it clean – sweep off dirt, leaves, and debris regularly. Don't let oil or gas spills just sit there; clean them up quickly because they can break down the asphalt binder. If you notice small cracks starting, you can often seal them yourself with an asphalt crack filler product from the hardware store. Catching these early stops them from turning into bigger problems.
However, for larger cracks, potholes, or when it's time for sealcoating (which is usually every 2-3 years for residential asphalt), you'll want to call in the pros again. Sealcoating protects the asphalt from UV rays, water, and chemicals, extending its life significantly. It's a messy job to do right, and getting an even, durable coat requires specialized spray equipment.
Putting in a parking lot is a big investment, but with good planning and knowing when to call in the experts, you'll end up with a durable, functional space that adds value to your home. Don't cut corners on the base or the paving itself, and you'll be much happier in the long run.